How to install a hot tub ionizer
More and more people are choosing minerals for keeping their hot tub clean and clear. This post describes how to install a hot tub ionizer.
Warning: Modifying your hot tub or opening the spa pack may void the manufacturers warranty. All electrical work must be completed by a certified electrician.
Tools and Materials
The tools and materials you need for this job are:
1) Screw driver (manual or electric)
2) Sawsall, hack saw or PVC shear
3) PVC primer and cement
4) Measuring tape
5) Marking pen
6) Teflon tape (for some installations)
Preparation
In preparation for the installation, you will need to:
1) Cut the power to the hot tub This is very important
You are at risk of injury if you open your spa panels without cutting the power to the spa. The power for your spa should be wired to a breaker panel. Turn off the power at the breaker and make sure that it is cut by checking for power at the spa.
You may have more than one power line running to the spa, so make sure that all power sources are turned off.
2) Drain the hot tub or shut off the area you are going to install the tee into if you have a shutoff valve in the appropriate place.
Step 1: Plan
The first thing to do is plan out your installation. This will vary from hot tub to hot tub and it’s important to know what’s going on inside the panels before you get started.
The key things are:
1) What size of plumbing do you have? This is usually 2″, but could be 1″ or 1.5″
2) What kind of spa pack do you have? This is usually Balboa, Gecko or ACC.
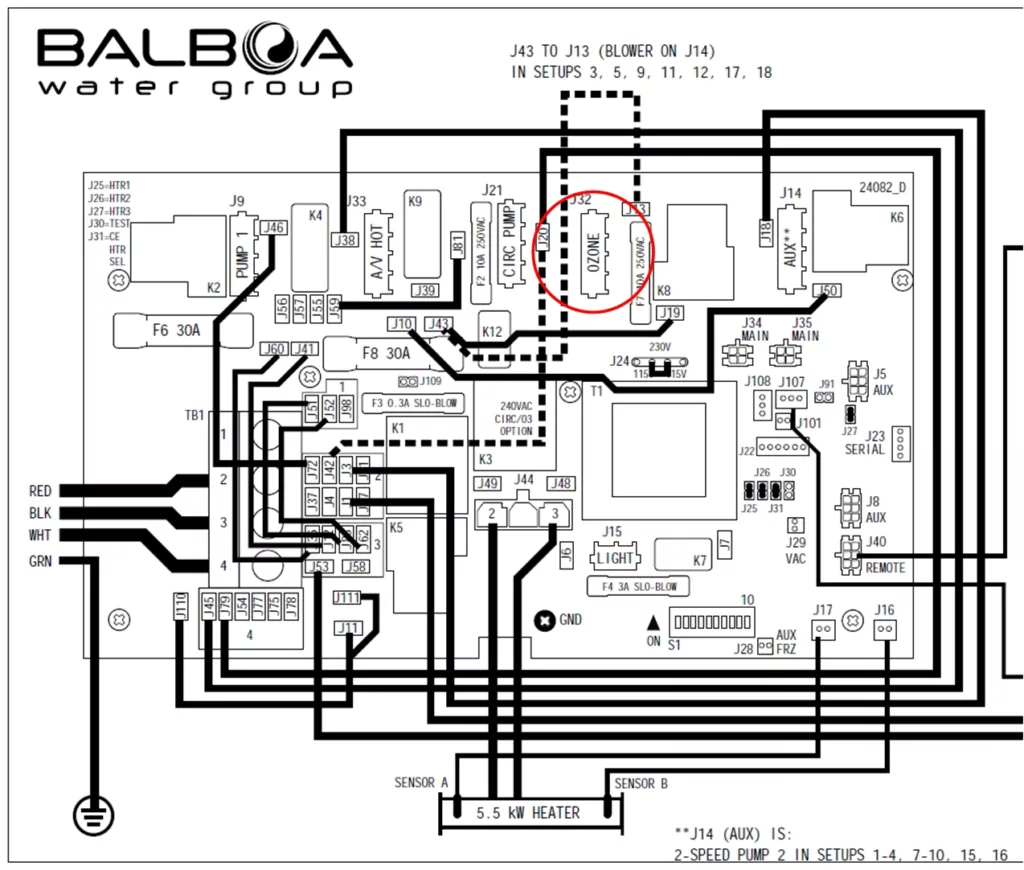
3) What power ports are available? Your spa pack may have an extra power port which is usually 240V. If not, you can use the ozone port which is available on most spa packs.
Step 2: Powering up the controller
It is usually easiest to power the ionizer controller from the control pack of your hot tub. Typically, this is 240V power, but it can also be 120V. Some ionizers have voltage sensing and work with both voltages, but some are hard wired to either 240V or 120V. It is important to match the voltage of your control pack with the voltage of the ionizer controller.
If your control pack is manufactured by Balboa, there will either be an extra power port, or you can use the ozone port. Power ports on Balboa packs use AMP connectors, so it’s best if you can order your ionizer with this type of connector.

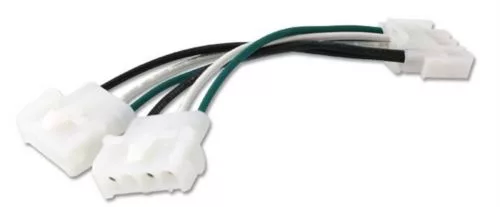
If your spa pack only has an ozone connector and you want to use both the ionizer and ozone, you can, but you will need a splitter to split the one power port into two sockets.

If you have a Gecko control pack, they use a proprietary power socket. Again, the ozone port is the best one to plug into. Make sure that you order your ionizer with a Gecko power cable. Or, you can buy an adapter to use with an AMP plug or hardwire power cable on the ionizer.
Step 3: Hook the tee into the plumbing
All ionizers come with some form of tee that is used to house the mineral cell. Installing the tee is the most difficult part of the process.
Open the panels of your spa until you find an area of plumbing that has at least 10 inches of pipe exposed. Ideally, this section of pipe should be on the return line that runs filtered water back into the spa. However, since the mineral ions are microscopic, the tee can go anywhere in the plumbing and the system will still work.
Once you have found a suitable section of plumbing, you need to cut out a 2.5 inch section so that you can fit the tee. You can cut the pipe with a sawsall, hack saw or PVC shear.
The tee glues into the plumbing using PVC primer and glue. It is important to use both primer and glue because this is a high pressure line and you want to make sure that it doesn’t leak.
Coat both the outside of the pipe and the inside of the tee with PVC primer and glue. Then, fit the pipe into both ends of the tee.
Step 4: Hook in the mineral cell
Once the tee is in place, you can hook in the mineral cell. Most ionizers have a cell that screws into the threading on the bottom of the tee.
The mineral cell may have an o-ring used to seal it up against the tee. If not, it is important to wrap the threading on the cell several times with Teflon tape to seal up the threads and prevent water from leaking.
Once the cell is screwed in, you need to connect it to the controller. This connection varies between ionizer manufacturers. It may be a plug, or you may need to connect bare two wires from the controller to two terminals on the cell.
Step 5: Mount the controller
It is important to mount the controller in a place that ensures both the power cable and mineral cell cable will reach.
You may also need to change the settings once in a while, so it’s best to place the controller behind a panel that is easy to access.
Most ionizers will have mounting holes and screws to mount the controller with. If there are no screws, you can use any standard wood screws.
Your hot tub may not have an ideal place to put the controller, so you may need to rig up a panel with wood or metal to provide a good place for mounting.
Enjoy your mineral spa!


