How to install a Mineral Lion by ClearBlue Ionizer on an aboveground pool
Our President, Mike Assad, demonstrates installing the Mineral Lion system on an aboveground pool. The process will also work for the ClearBlue Mineral System with the aboveground hookup kit.
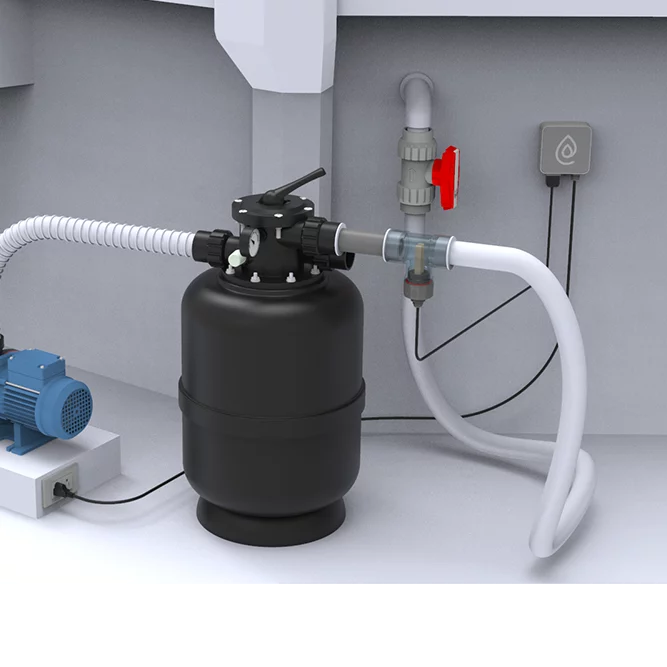
Click here for instructions on installing the ClearBlue system on pools with hard-pipe plumbing.
Inside the Kit
The Mineral Lion kit contains the Mineral Lion controller, mineral cell, plumbing hookup kit, and copper test strips.
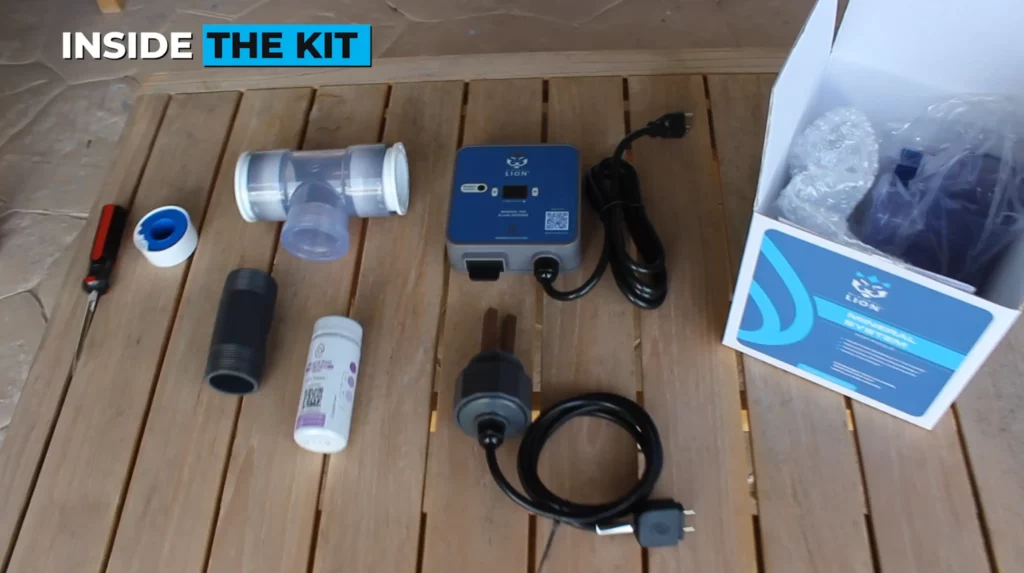
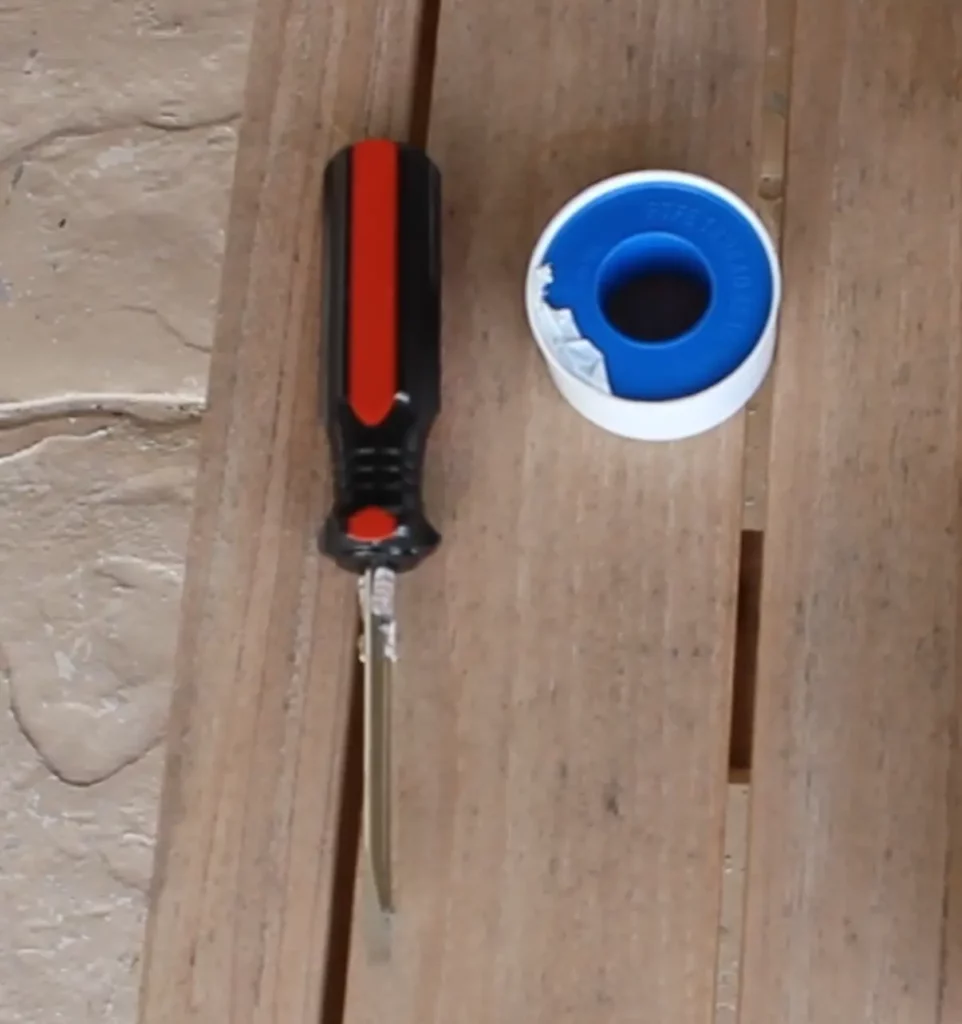
Tools and Materials.
You’ll need a slotted screwdriver and Teflon tape to hook it to your system.
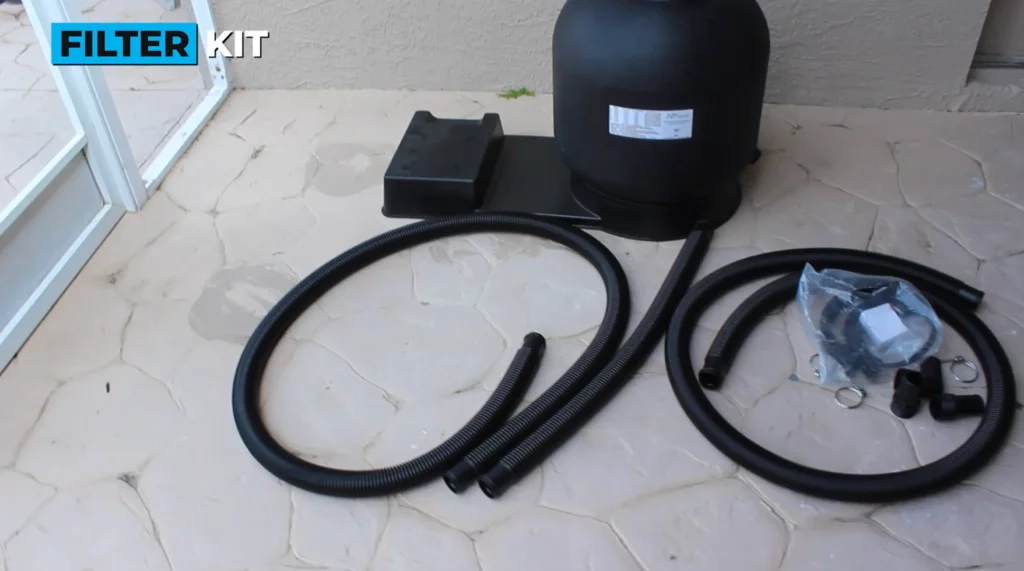
Filter Kit
Your pool will come with a filter that looks like this, as well as all the hoses and fittings you need to hook it up.

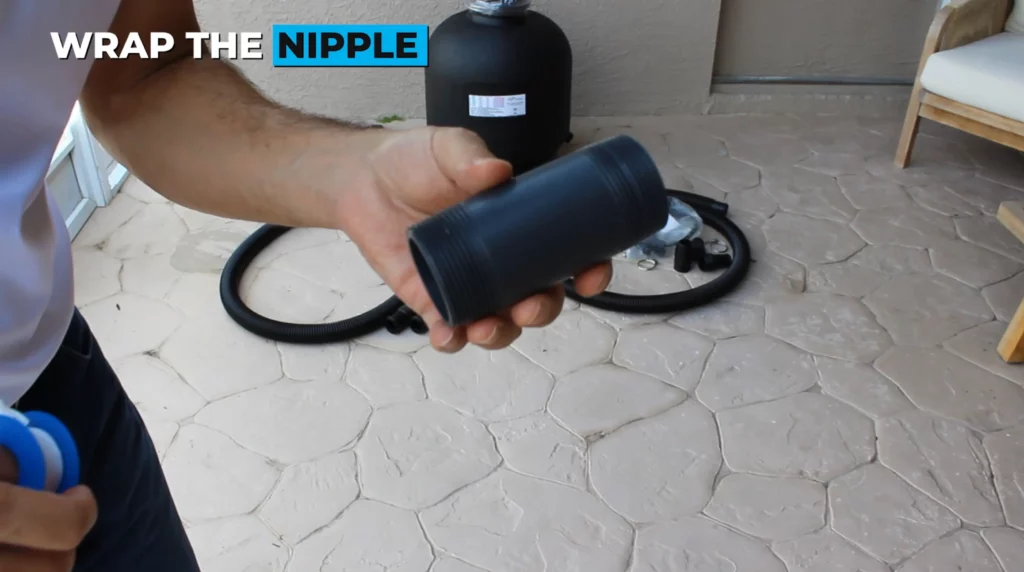
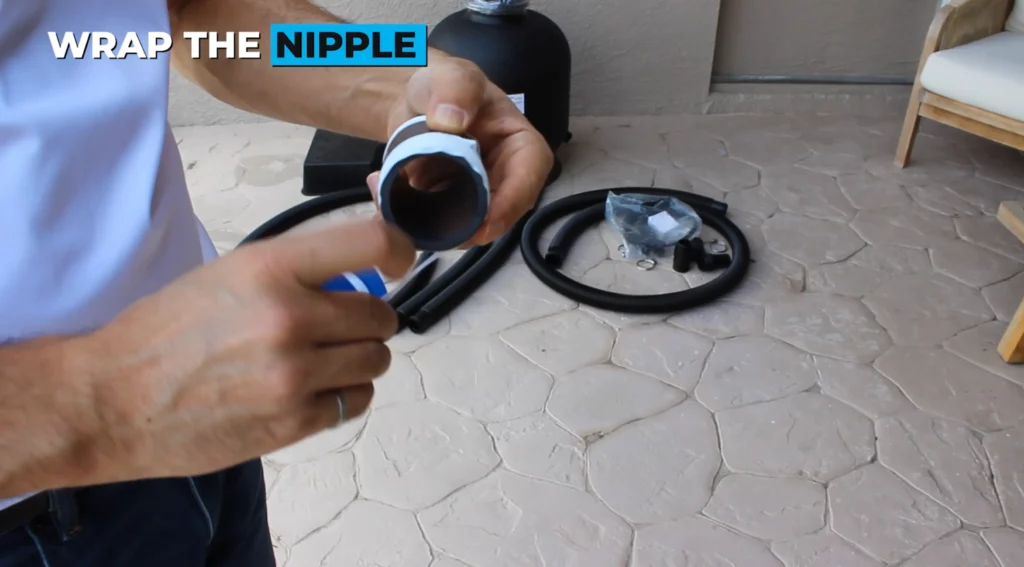
Prep the Threaded Nipple
First, you’ll wrap Teflon tape around the threading on this 4in nipple that comes in the kit with the Mineral Lion. You need to wrap both ends of the threading. The wrapping should go clockwise; you may need to wrap it several times to prevent leaking.
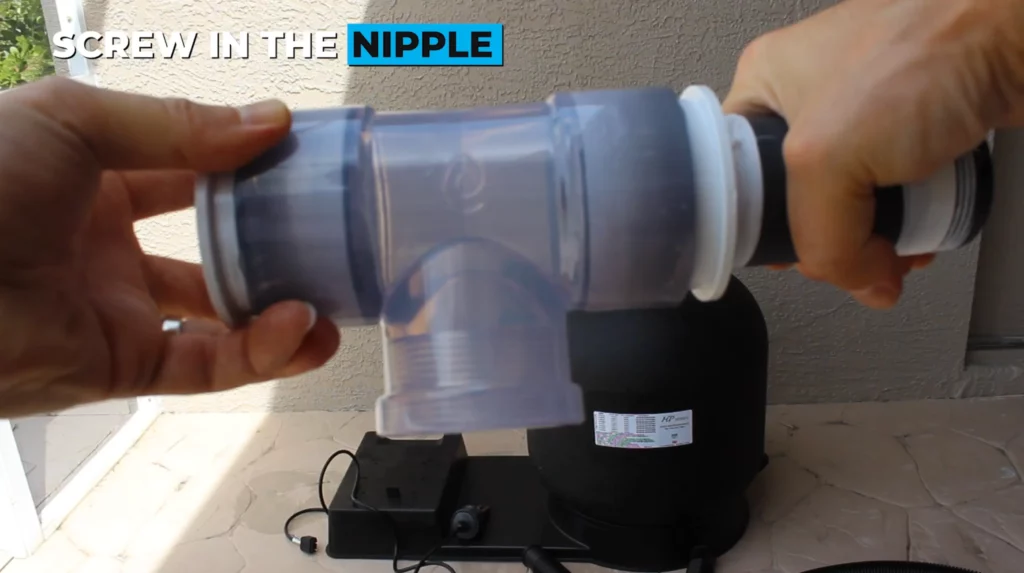
Add Nipple to Tee
Next, we will thread the nipple into the right-hand side of the tee. Just screw it in until it’s hand tight.
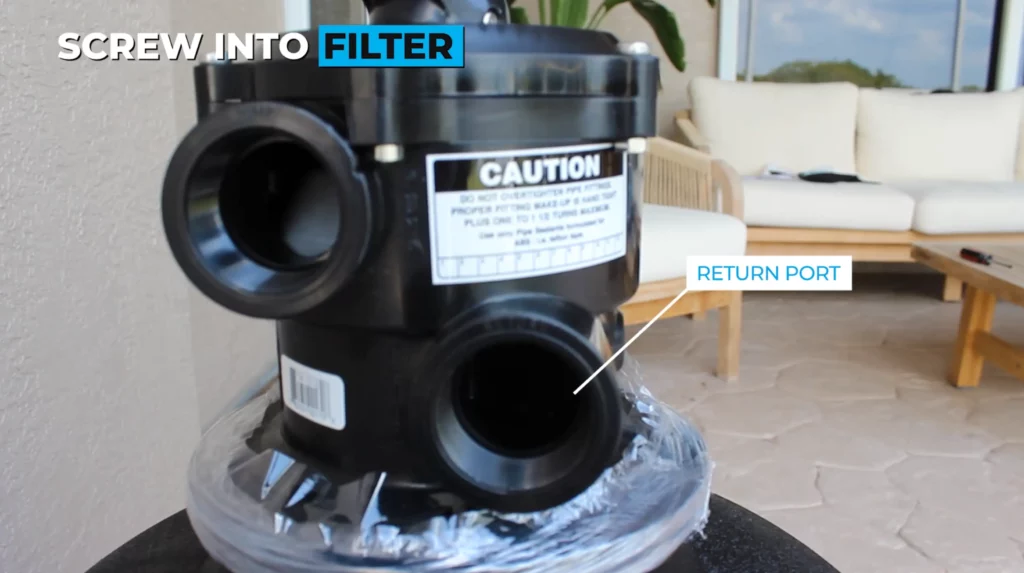
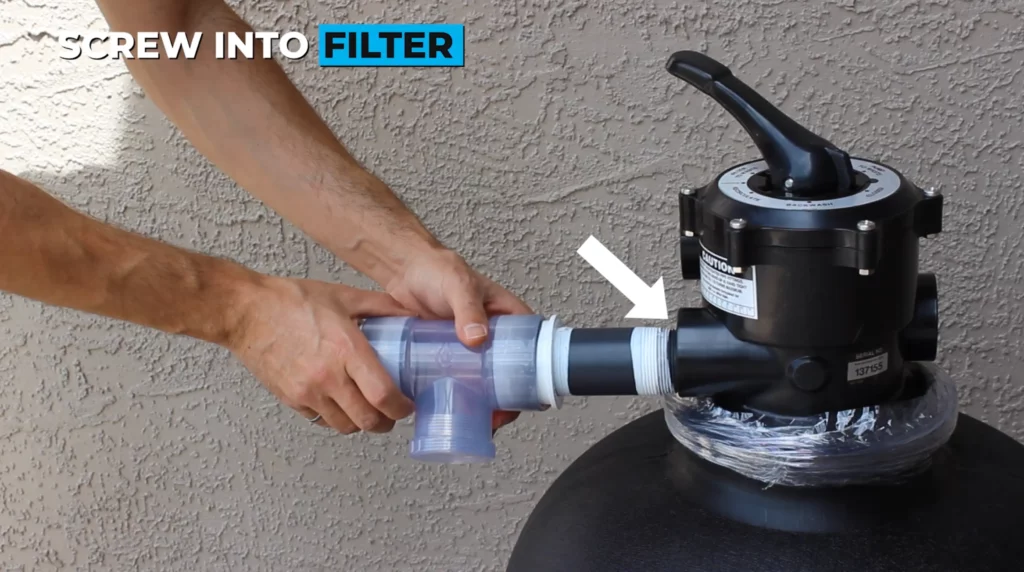
Add Nipple and Tee to Filter
Look for the ports labeled “Pump” and “Return” on the filter head. Next, screw the other end of the nipple into the return port until it’s hand tight.
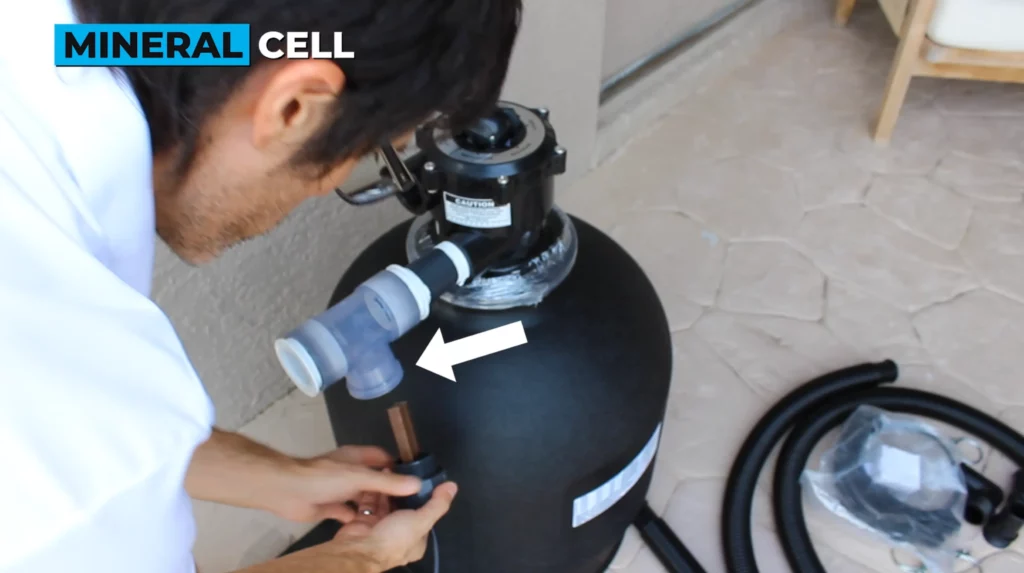
Add the Mineral Cell
Take the mineral cell and screw it into to the bottom of the tee. The mineral cell has an O-ring, so you don’t need Teflon tape. Again, screw it in until it’s hand tight. The bars should be oriented such that the water flows between them to make sure the two bars wear evenly.
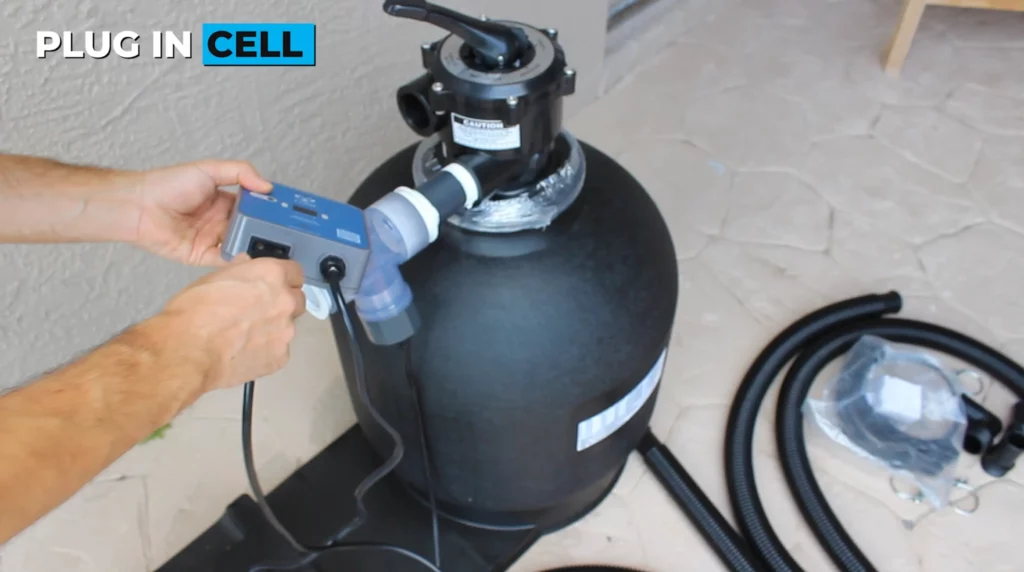
Plug in the Mineral Cell
Grab the controller and plug the mineral cell into the receptacle at the bottom. Ensure the plug is plugged in all the way so it’s flush with the controller.
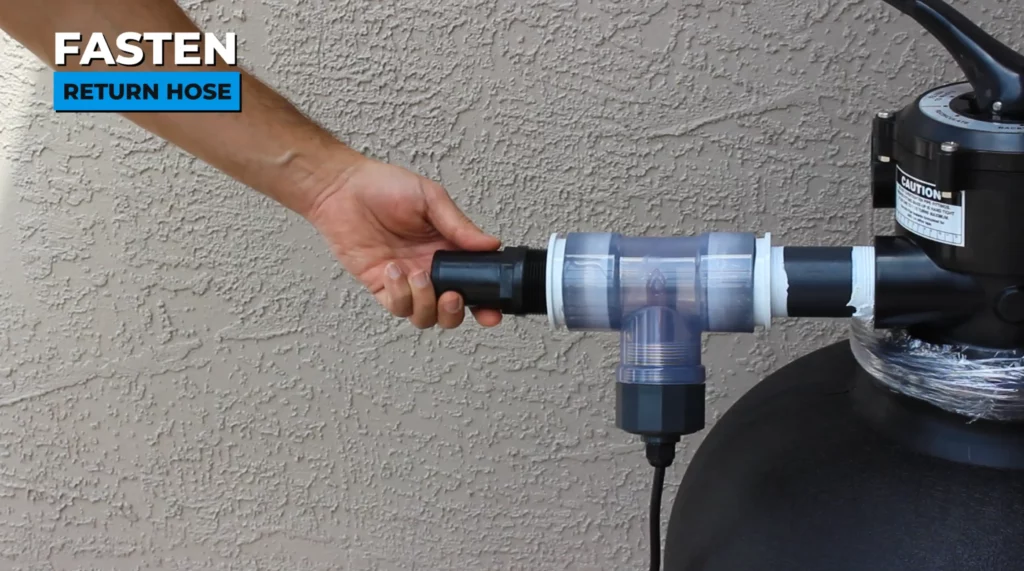
Fasten the Return Hose
Next, you’ll need to fasten the return hose to the other side of the tee. You’ll have a hose nozzle inside the filter kit with threading on it. This threads into the other side of the tee. You need to put Teflon tape over the threads to prevent it from leaking and screw it in until it’s hand tight.
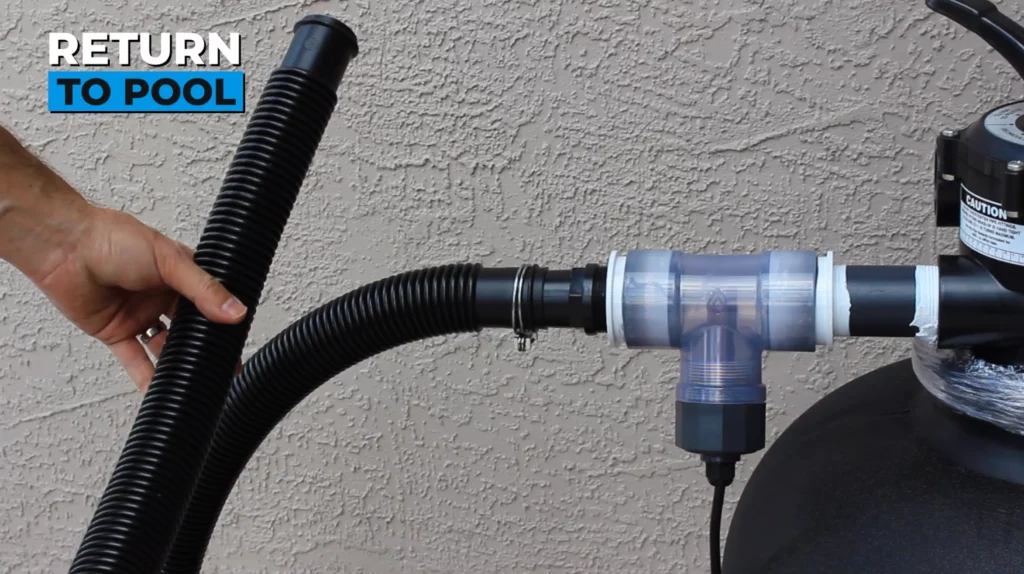
Then, take one of the longer hoses, put the hose clamp over it, and push it onto the nozzle as far as you can. Then, you must tighten the hose clamp by hand and finish it with the screwdriver.

Next, you take the other end of the hose and fasten it to your pool’s return. Your pool’s installation manual will describe how to do that.
Mount the Controller
Next, we’re going to take the two Velcro strips that came with the system and fasten them to the back of the controller, covering the screw mounts.
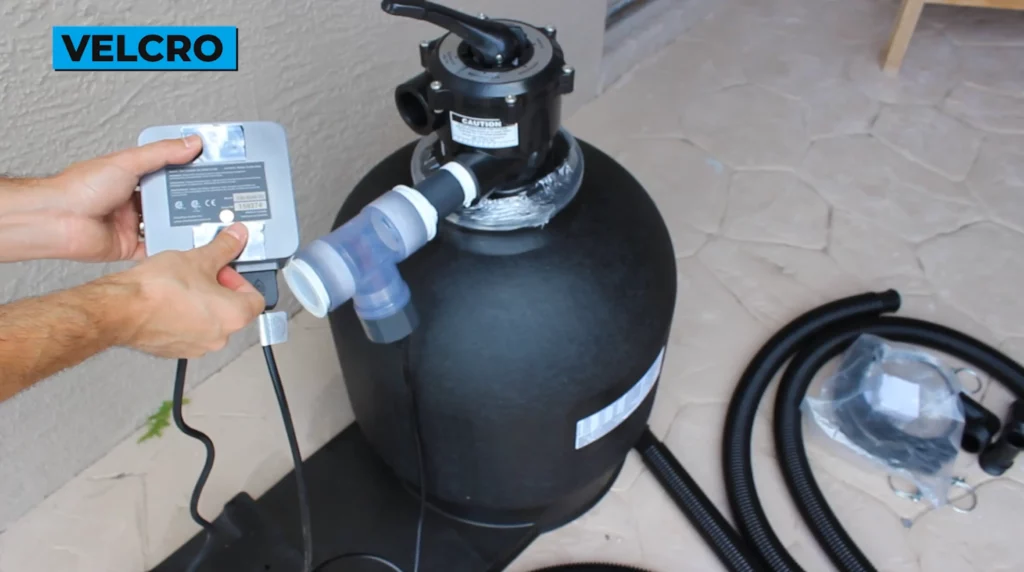
Next, we’ll fasten the controller to the side of the pool. Just press it against the side of the pool and hold it for 30 seconds. Then, plug in the power cord, and the controller will light up.
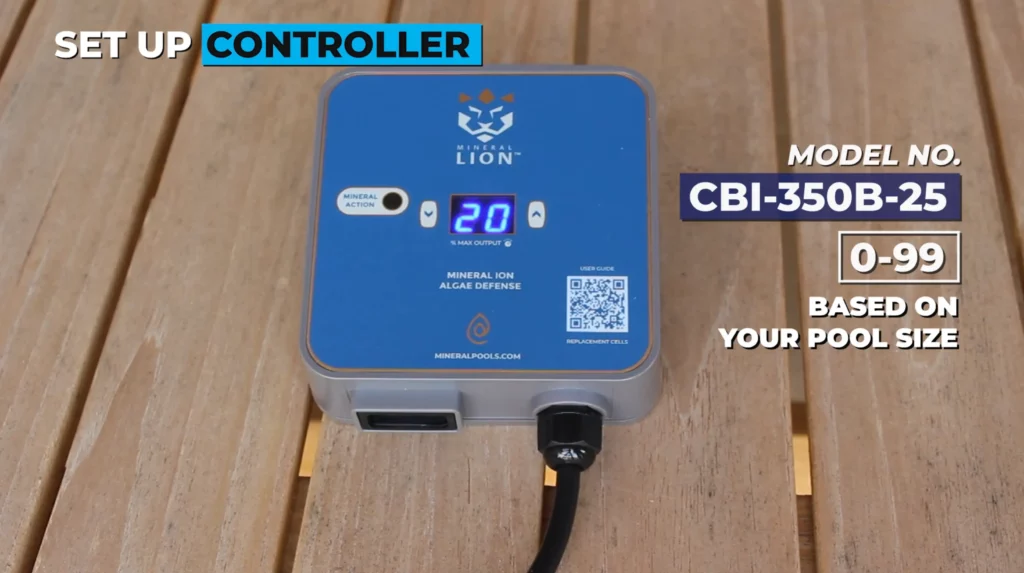
Set up the Controller
To set up the controller, you’ll need to know the volume of your pool in gallons or liters. Then, access the settings calculator from the QR code on the front of the controller. It’ll give you a number between 0 and 99 based on your pool size to set the controller to. Then, use the up and down arrows to set the controller to the appropriate number.
That’s it! Enjoy your pool!
Be sure to register your warranty because it will double from 1 year to 2 years.